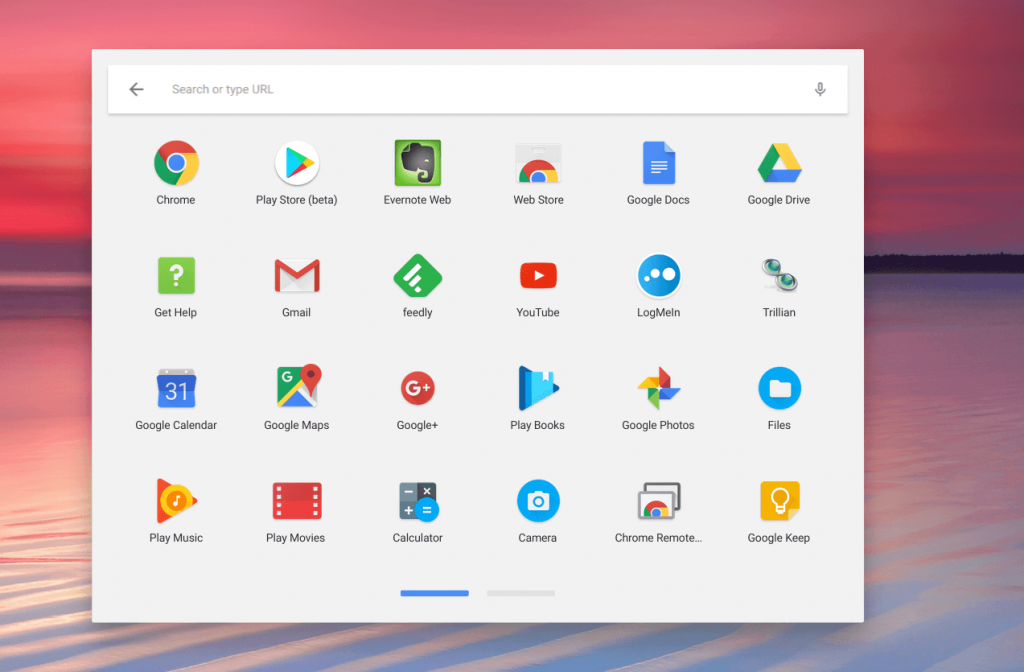
Chromebooks Supporting Android Apps
Currently, the Google Play Store support is available only for a few Chromebooks. Check out here to know the list of Chromebooks that run Android Apps.
Enabling Google Play Store on Chromebook
If your Chromebook already supports Android Apps, you can enable Google Play Support by following these steps:
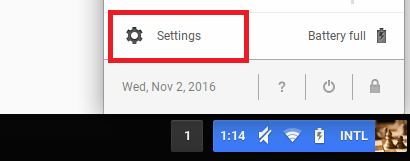
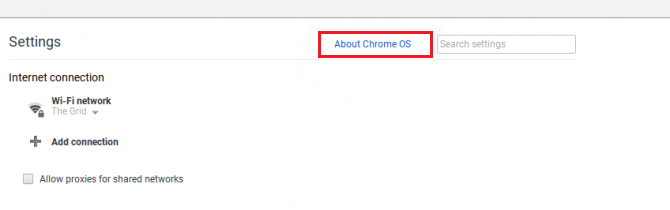
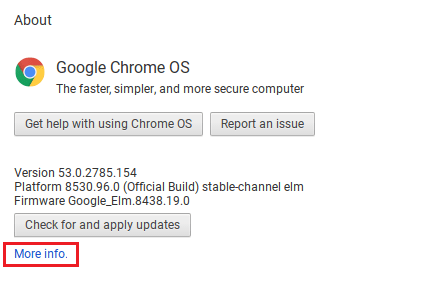
Click the Settings cog located on the status area.Select About Chrome OS.Select Check for and apply updates button.If there’s an update, it will be downloaded and installed on automatically on your device.When prompt, restart your device to install the latest version.Now, click the Settings cog located on the status area.Look out for Google Play Store settings and check the box to enable Google Play Store.Tap Agree to open the Google Play Store. Accept the terms and conditions and log in your Google account credentials.
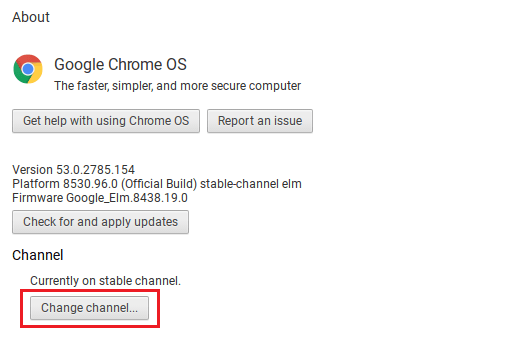
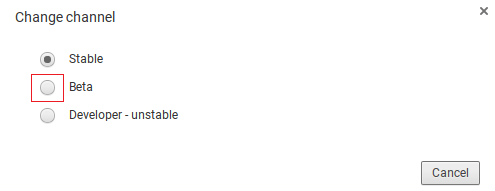
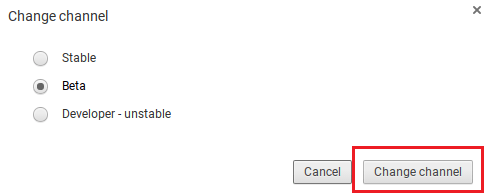
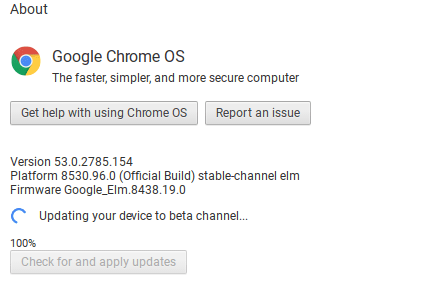
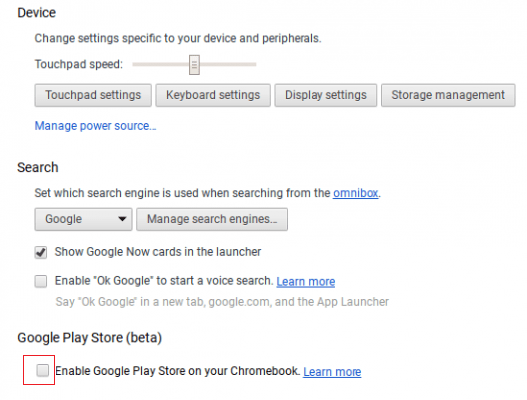
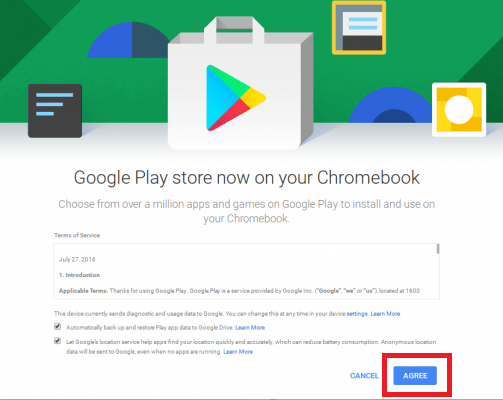
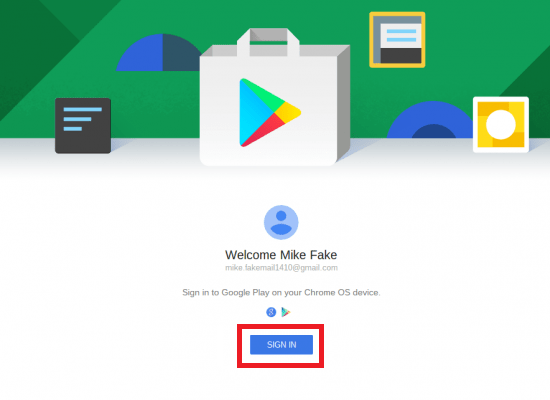
If your Chromebook doesn’t yet support Android Apps, you can enable Google Play Support by switching to the developer channel. #1: Click the Settings icon located on the status area. #2: Select About Chrome OS. #3: Select More Info. #4: Select Change Channel. #5: Now, select Beta. #6: Click Change Channel to change the channel from stable to beta. #7: Wait for few seconds and click the Restart button. #8: After restarting your Chromebook, Click the Settings icon located on the status area. #9: Look out for the Google Play Store (beta) menu and tick the box to enable Google Play Store on your Chromebook. #10: On the next screen, tap Agree to accept the terms and conditions of Google. #11: Tap Sign In and enter you Google account credentials.
Installing Android Apps on Chromebook
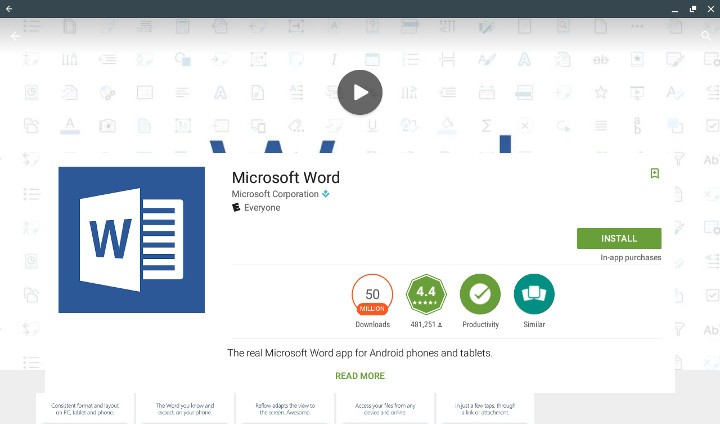
After enabling the Google Play Store, you can install Android application just like downloading apps on Android mobiles/tablets. You can download all the apps that are available on the Google Play Store. But, some of the applications may not work due to certain restrictions.
Open the Google Play Store app.With the help of search bar, search for your desired app.Select Install to download the app.Within a few minutes, the application will be installed on your Chromebook.
Note: Chromebook users can also install Android app by using the sideloading technique. For that, you need to enable developer mode on your Chromebook. By enabling developer mode, the security features associated with your Chromebook will be removed. Hence, don’t install Android apps by using the sideloading method.
Final Thoughts
This is you have to get and run Android apps on your Chromebook. Depending on your Chromebook, the quality of the Android app experience will vary. Follow the guide carefully and install your favorite android app without any hassle. We hope the article is really helpful and easy to follow. Thank you for visiting Techfollows.com. For further queries and feedback, feel free to leave a comment below.